From Design To Print
How Does Your Design Get Printed Onto a Shirt ?
At one point or another everyone has owned a printed shirt, but not many have an idea of how the shirt got printed. In this article we will briefly address the steps that are involved in creating a custom printed shirt. Becoming familiar with the process will help you create a more successful project.
Screen Printing Process
- Art Separations
- Creating Films
- Exposing Screens
- Mixing Ink
- Screen Printing
- Curing Ink
Art Separation
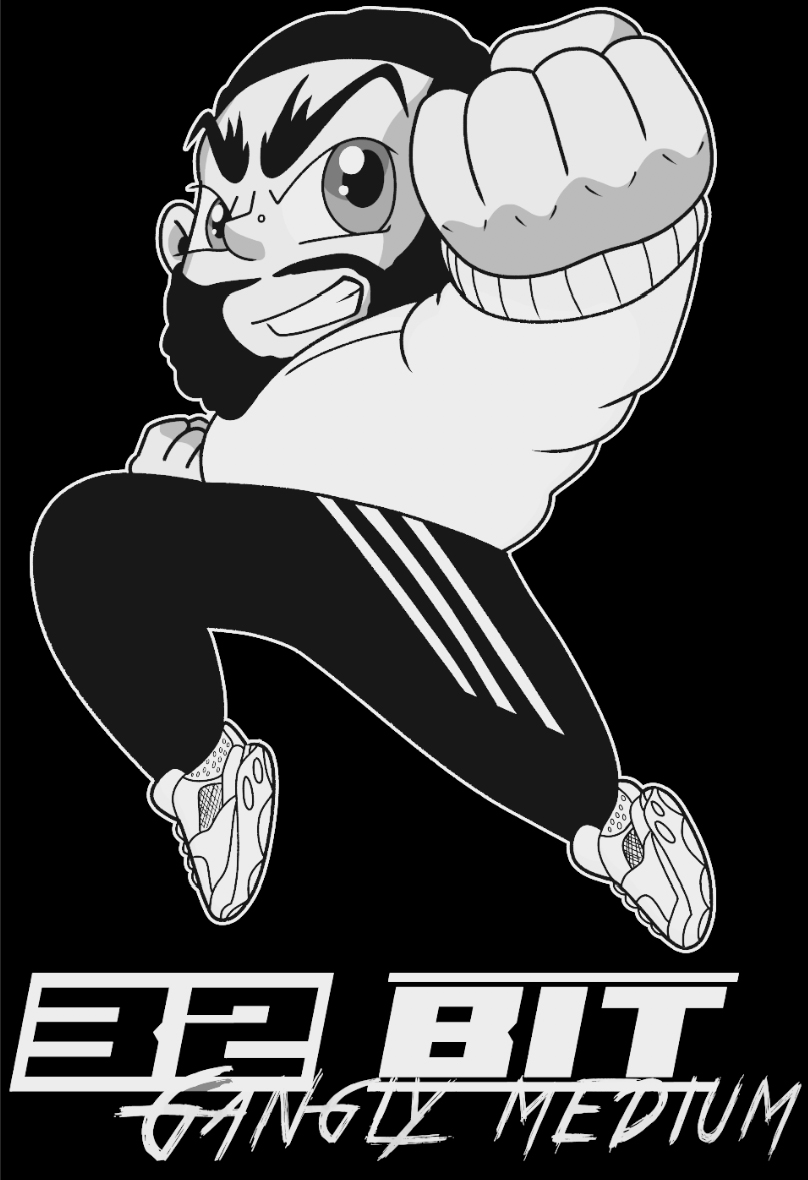
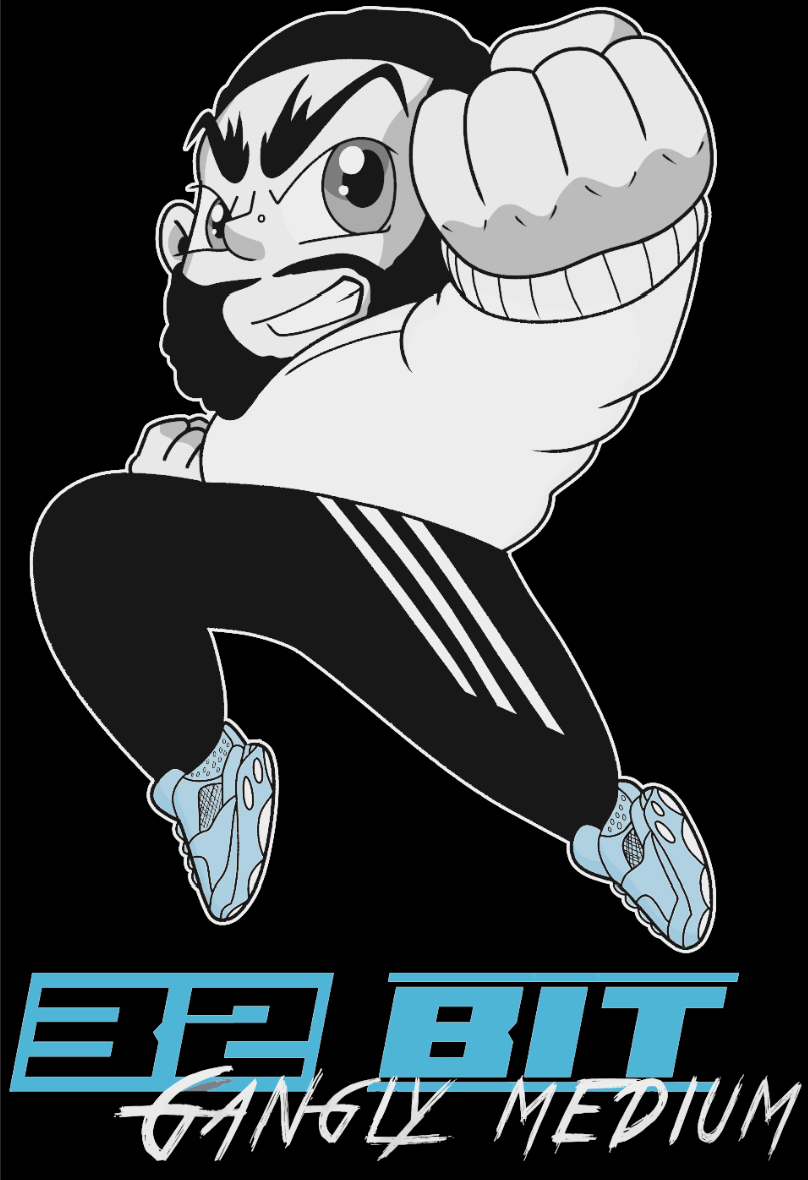
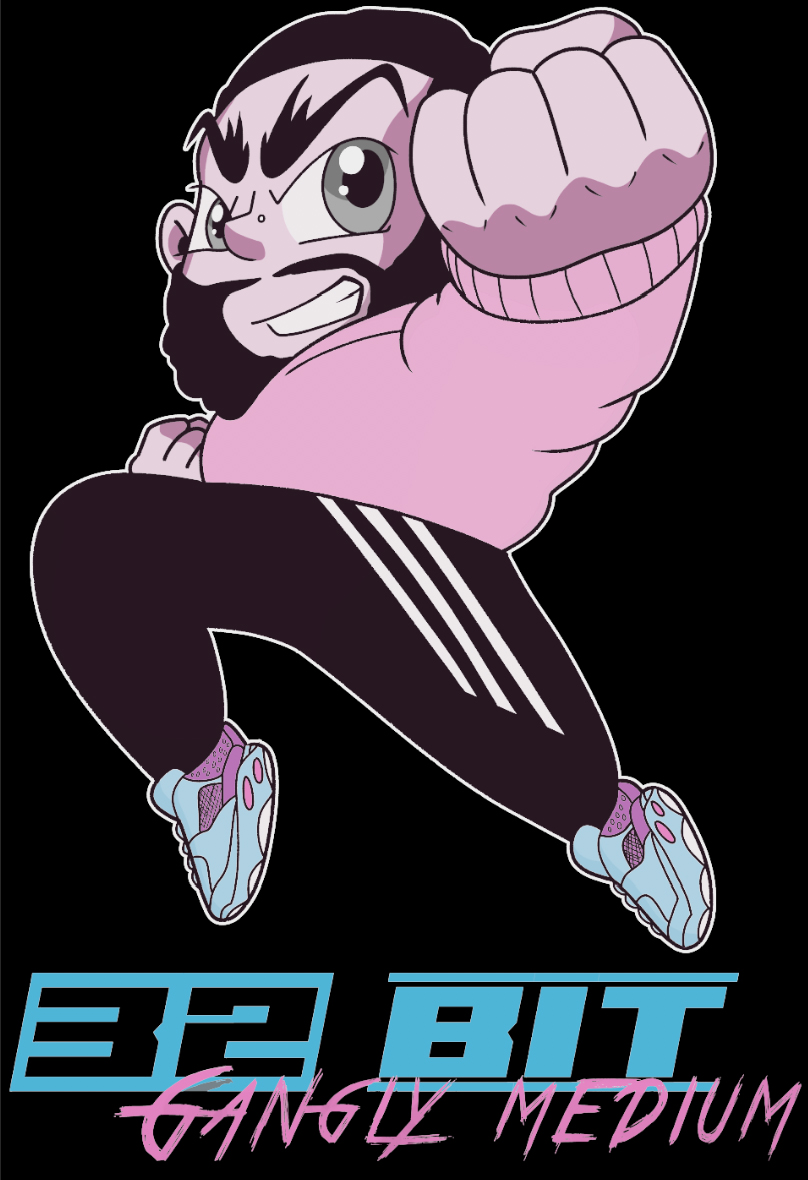
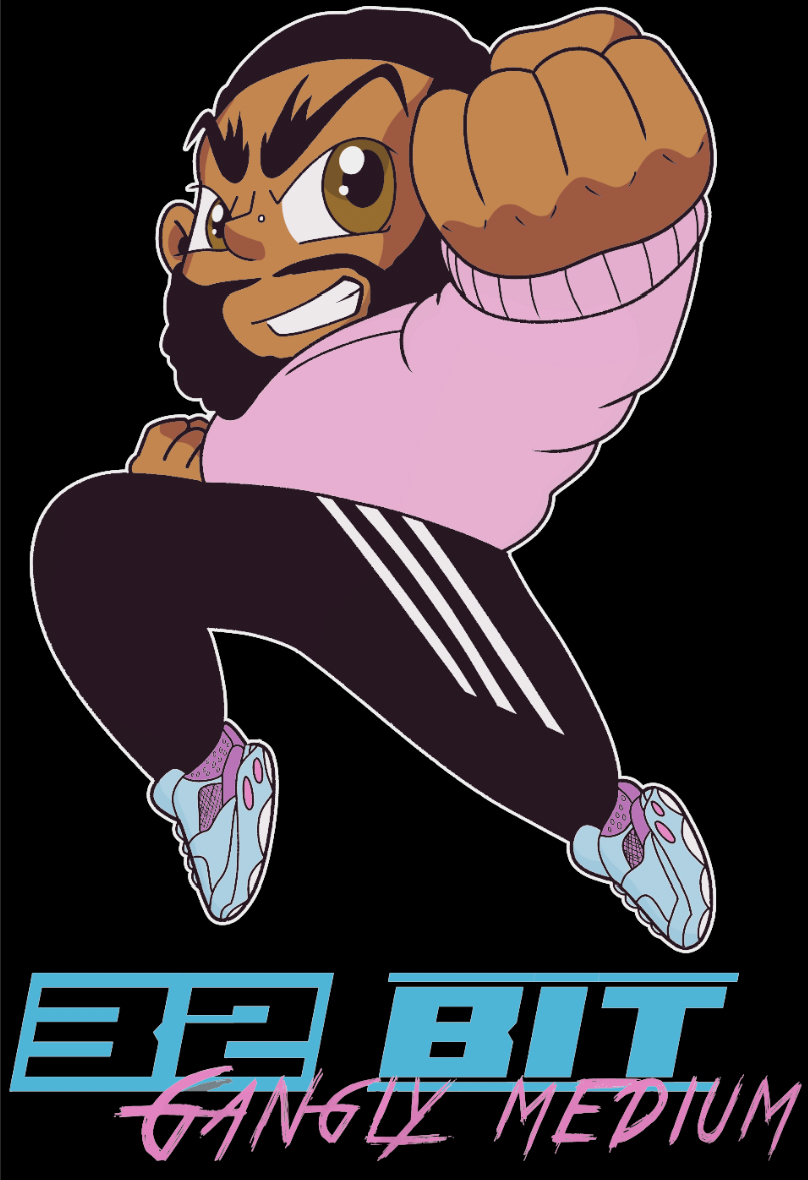
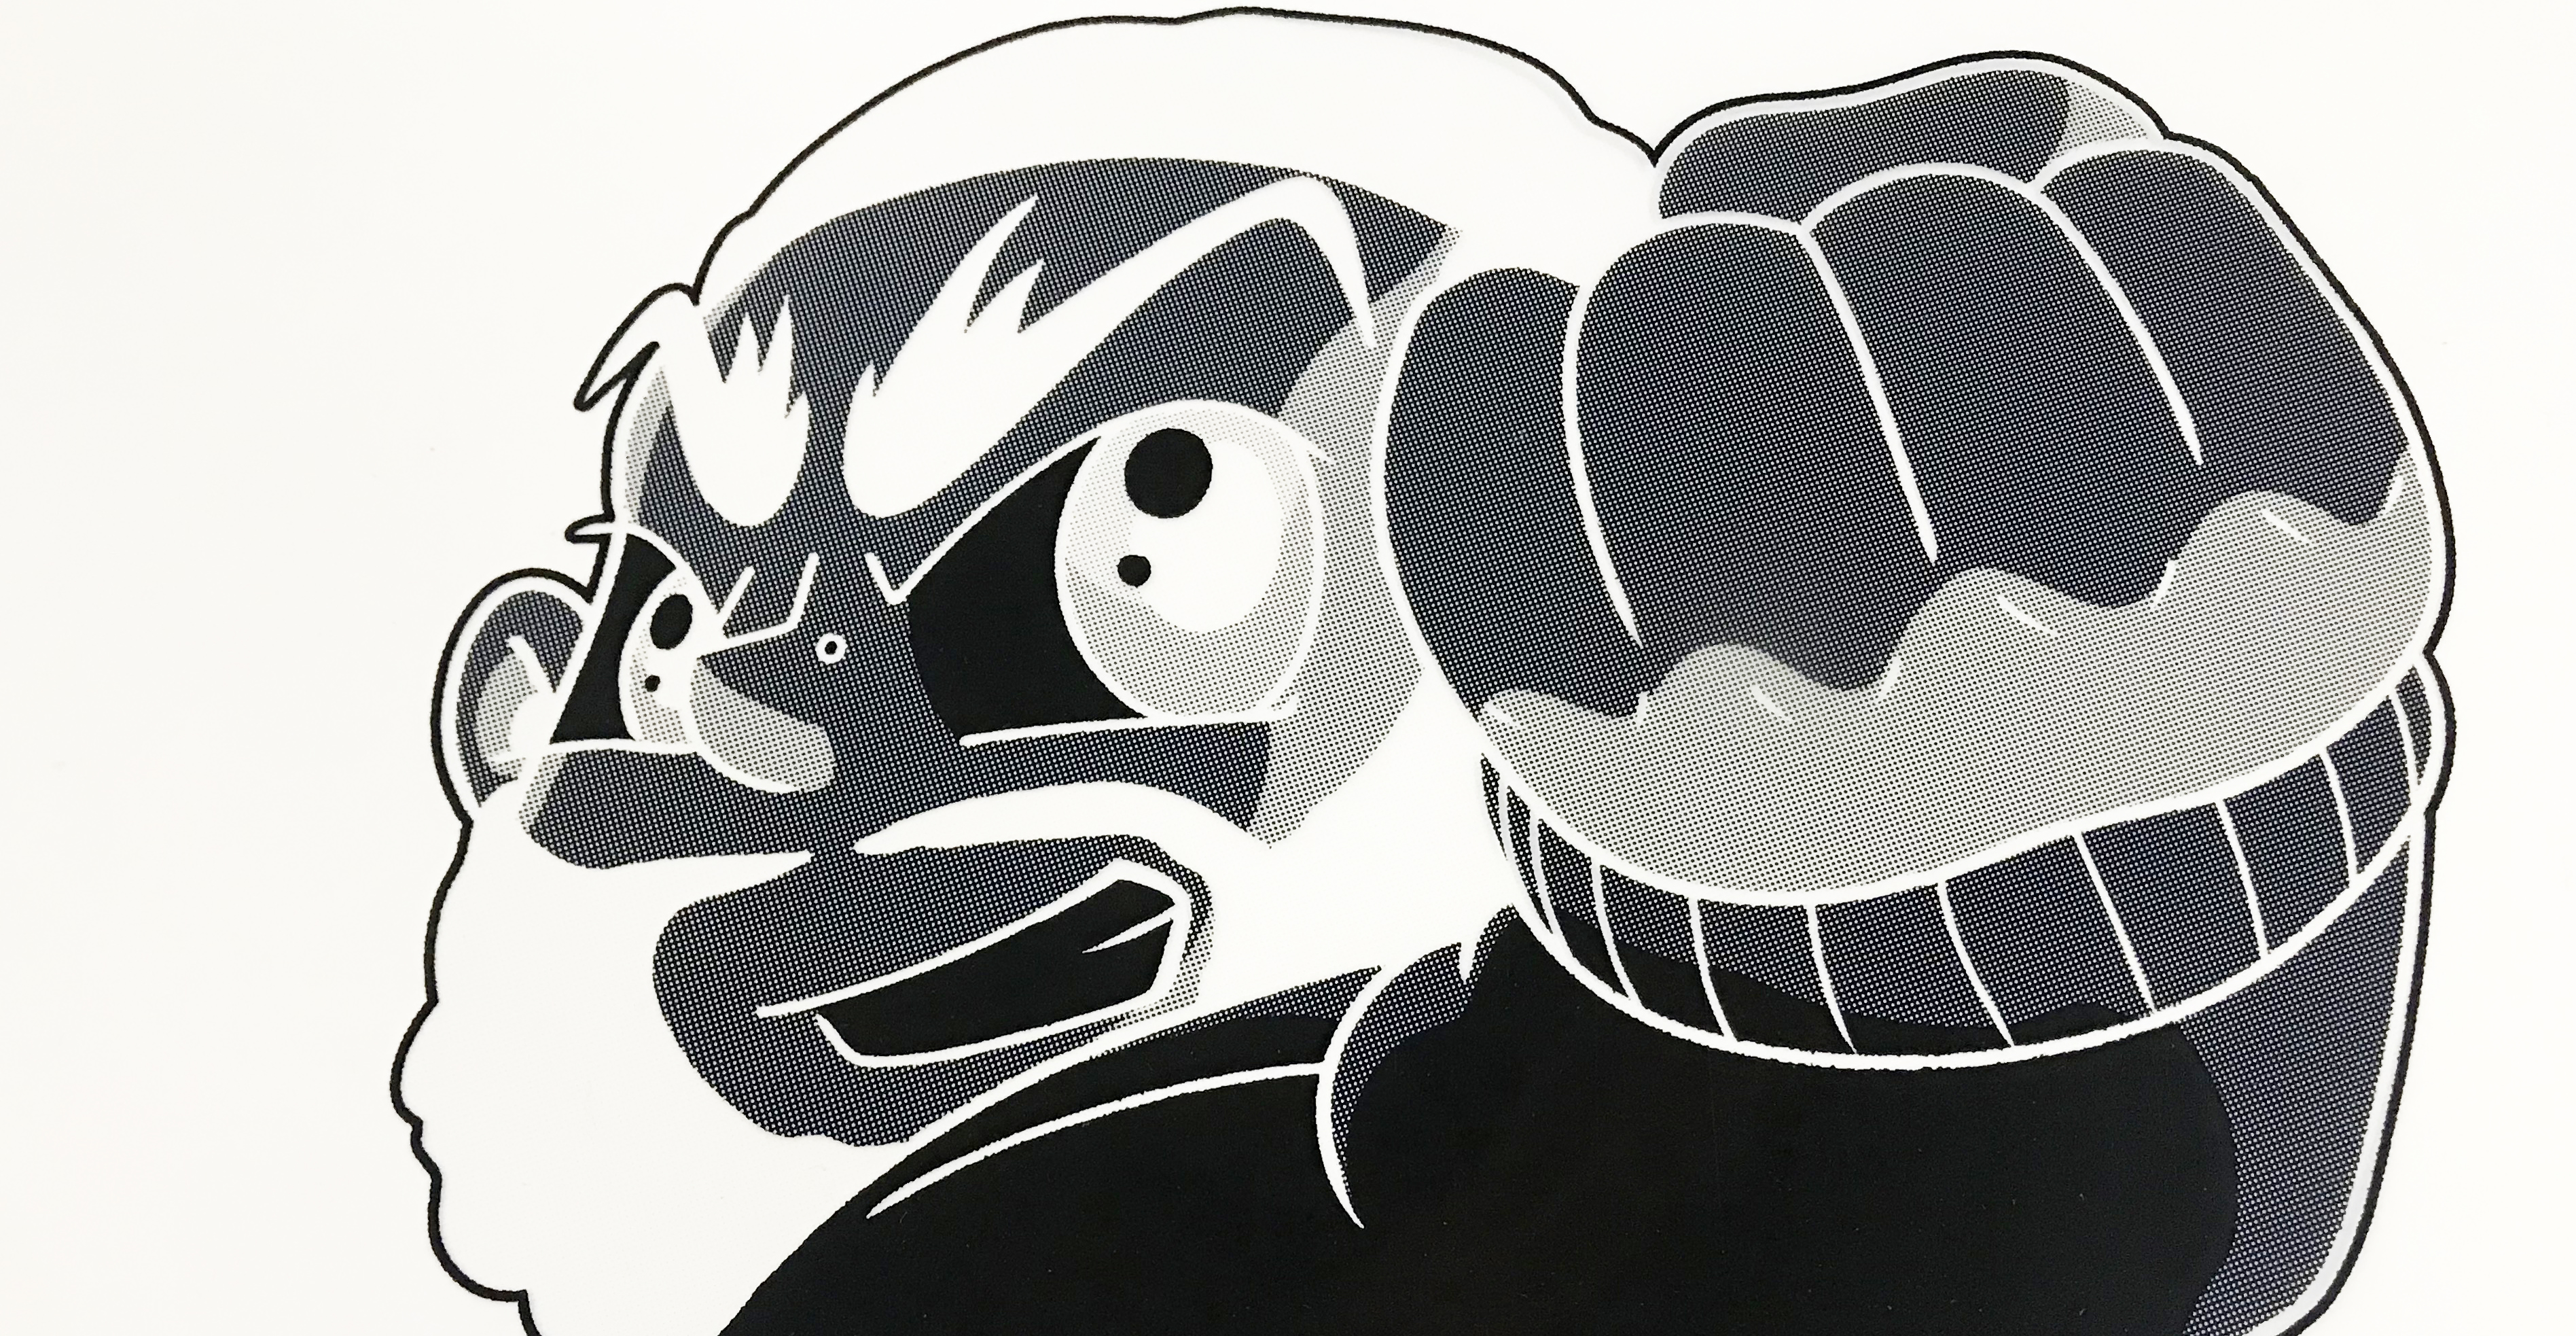
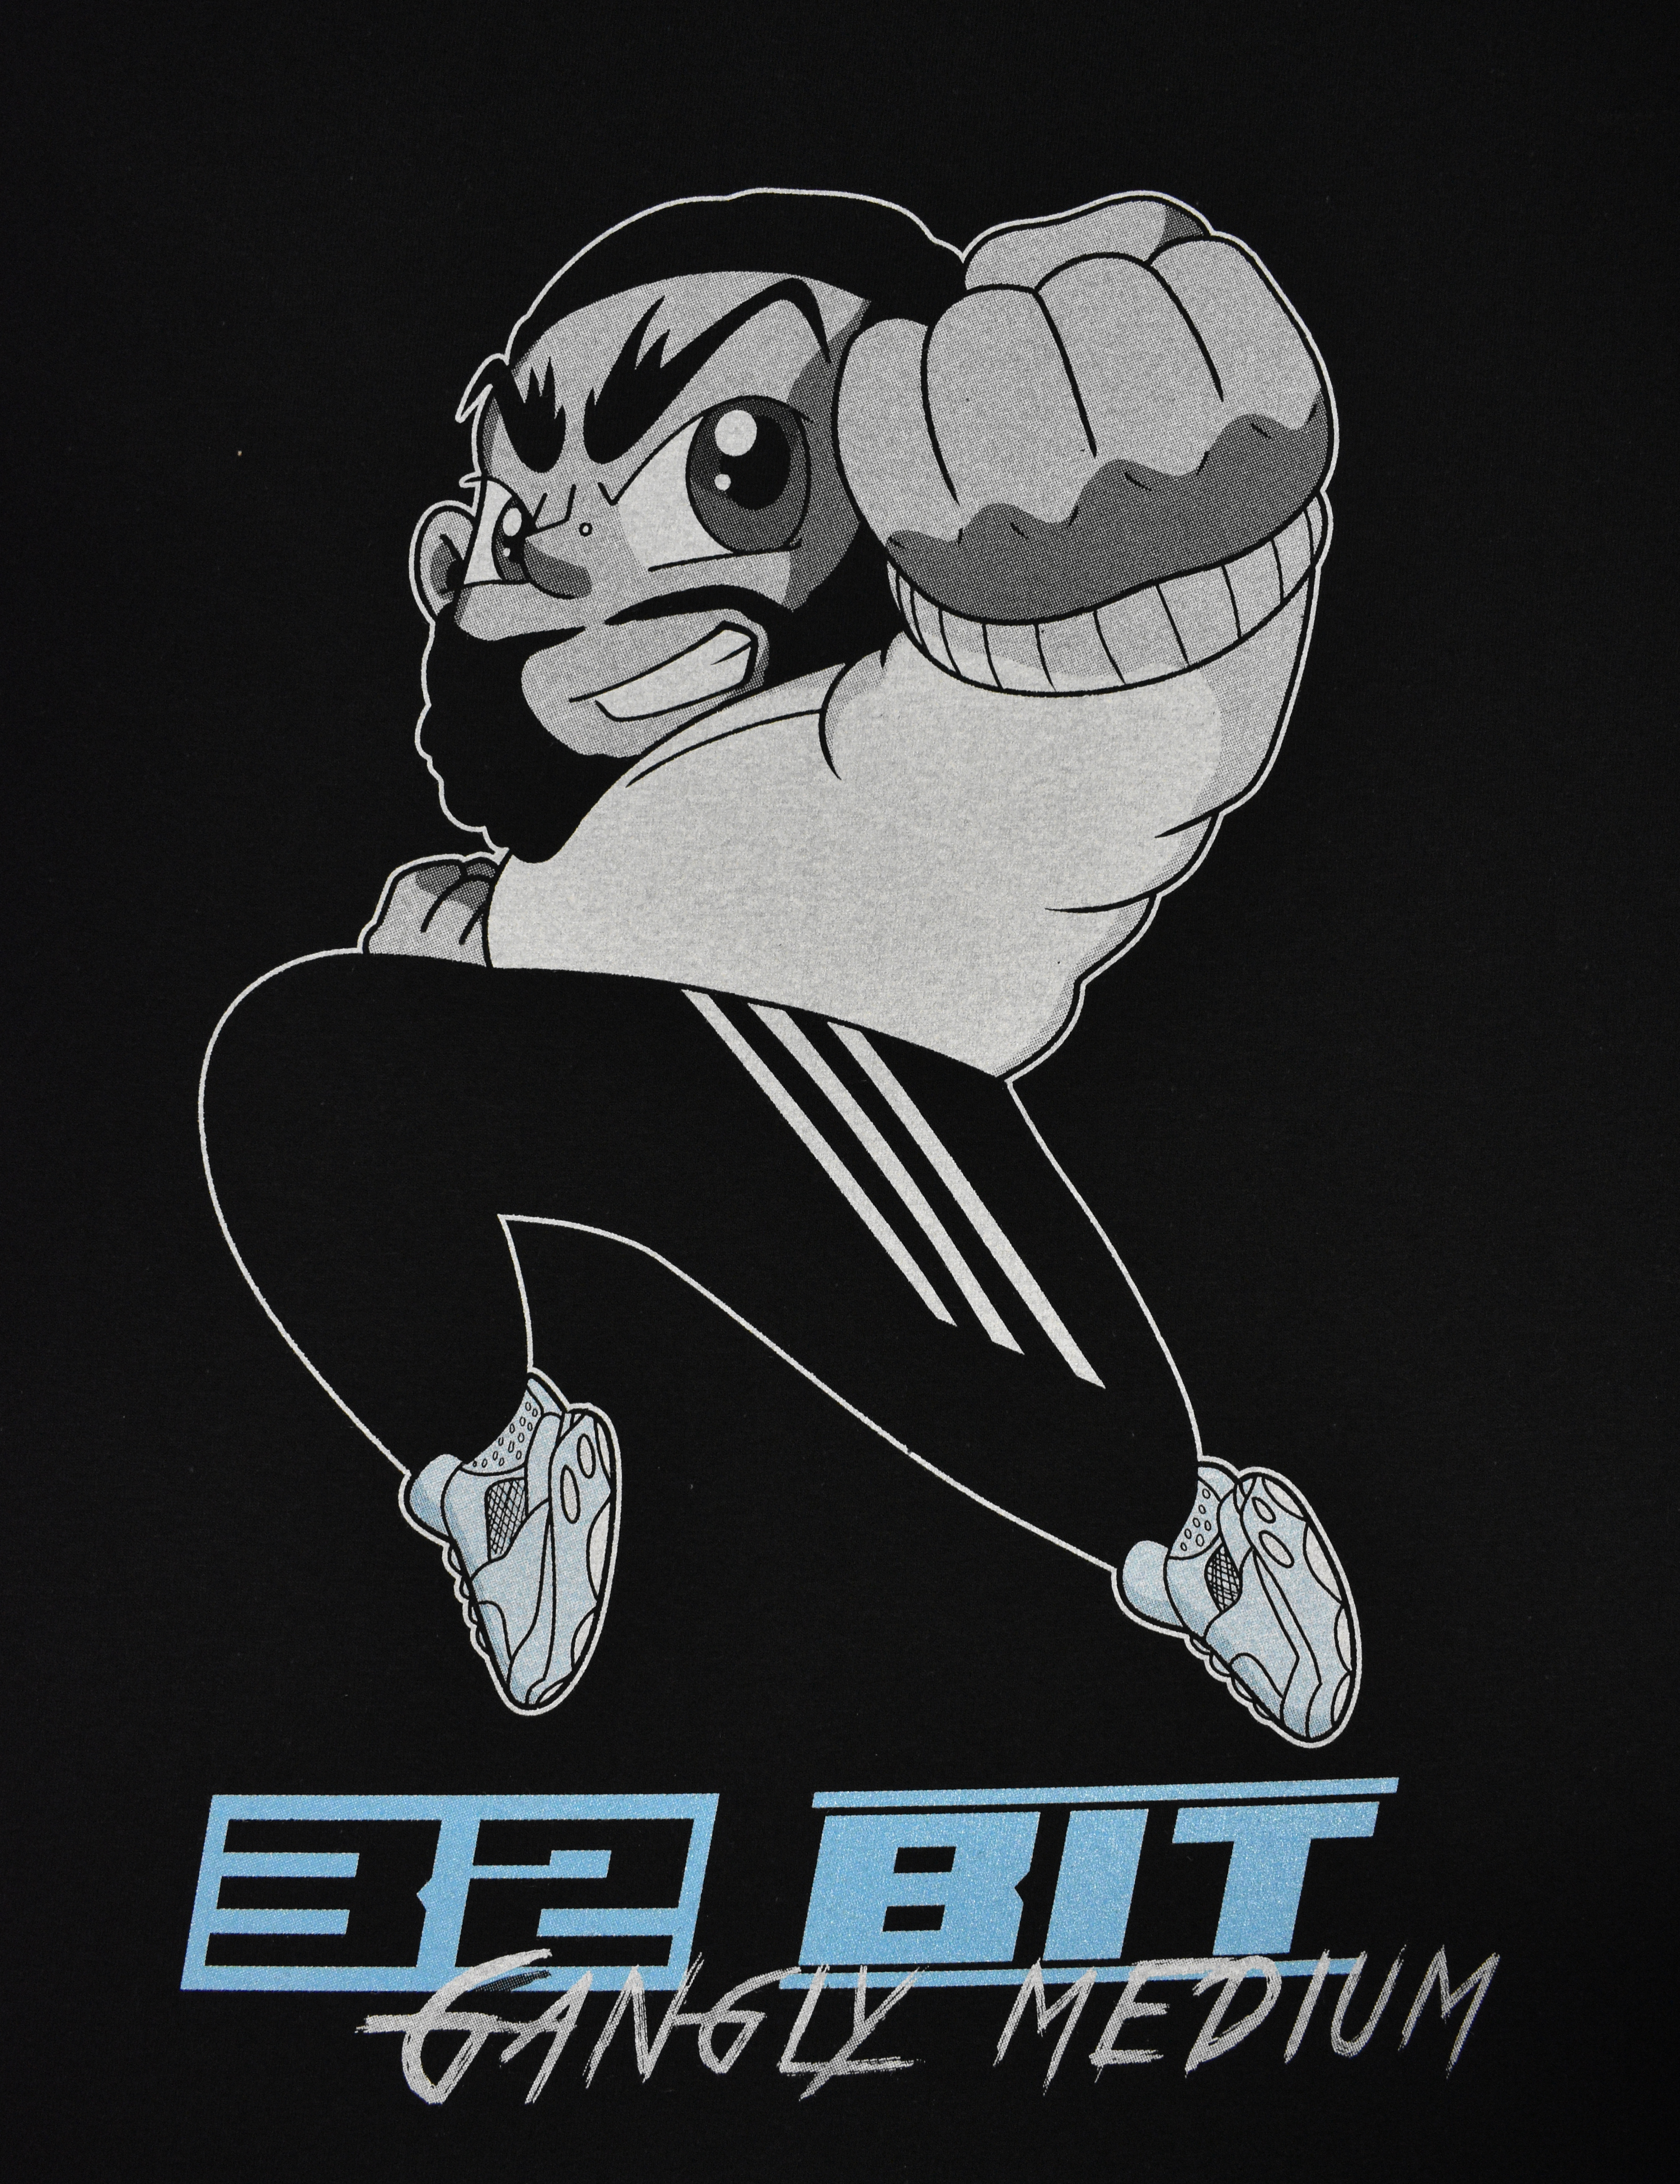
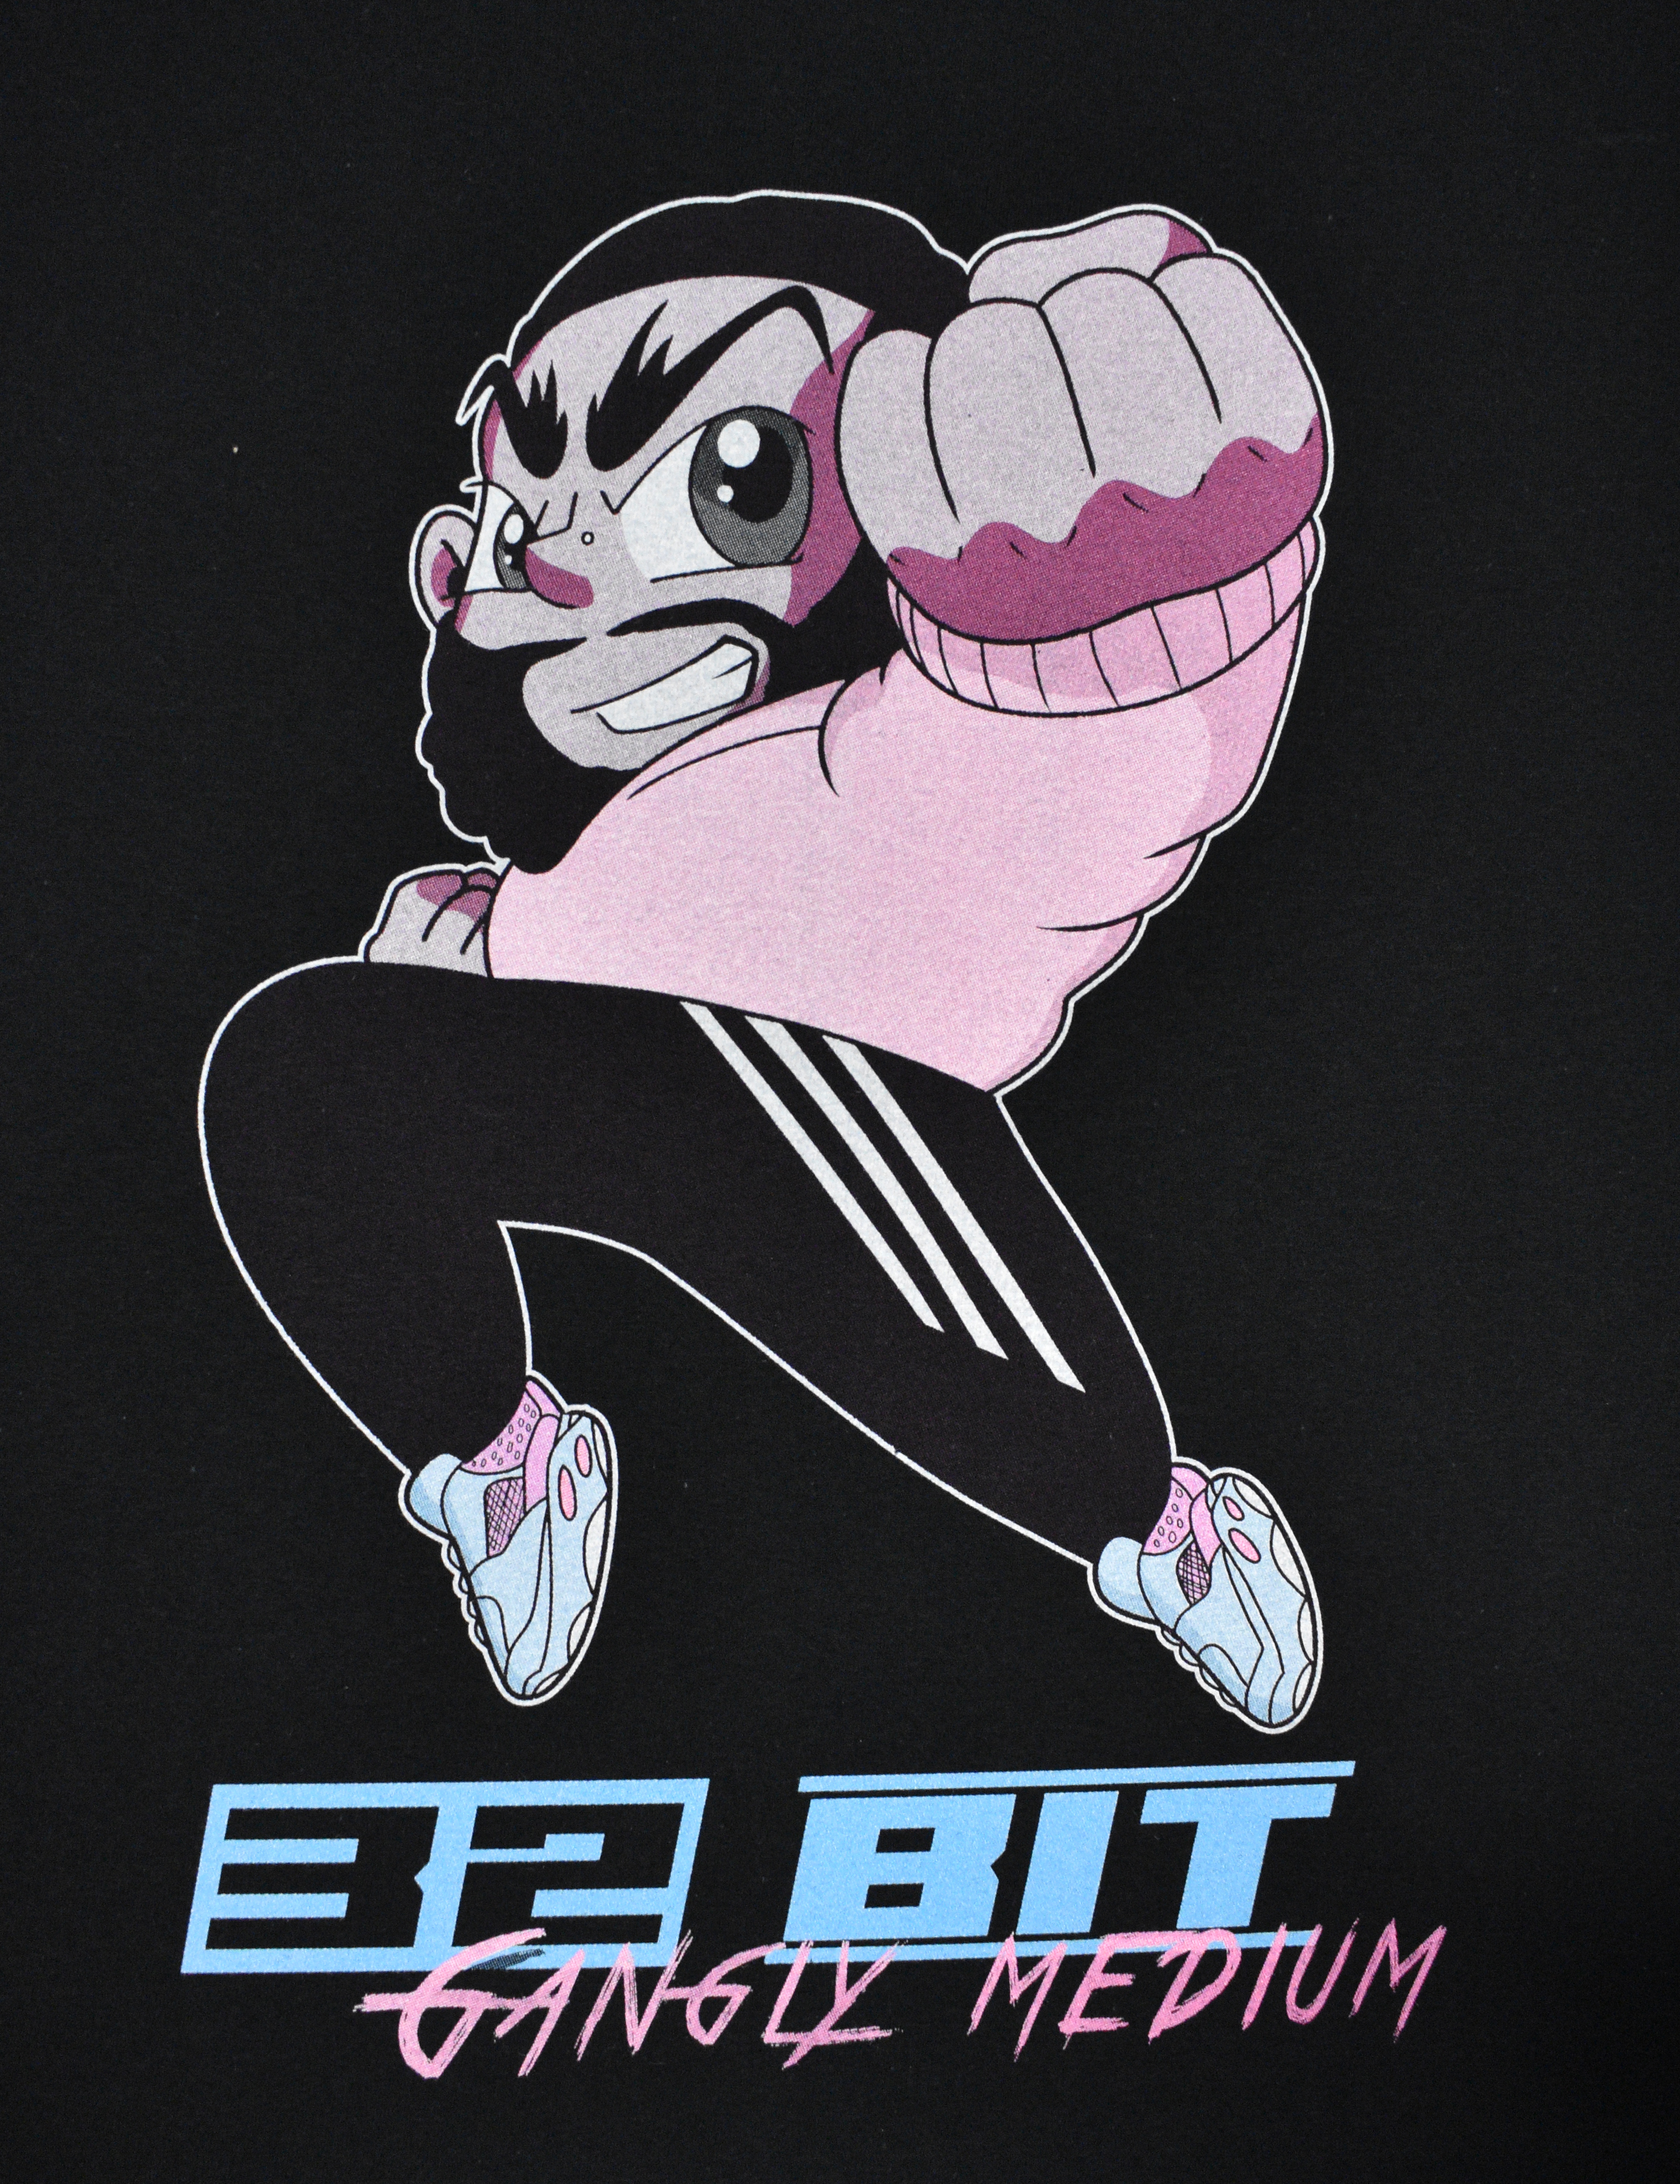
From the second your art work reaches us we want to make sure that it will be represented well on the garment style of your choice. This process begins by separating each color in the artwork into a separate channel, in order to prepare it for printing on film. When printing artwork as a simulated process print, each color is separated by a very specific percentage to ensure the colors blend as needed. If light colors are being printed on dark garments, an under base is added so that the colors show up vibrantly. The examples below show the results of separating an image into separate channels using Adobe Photoshop.
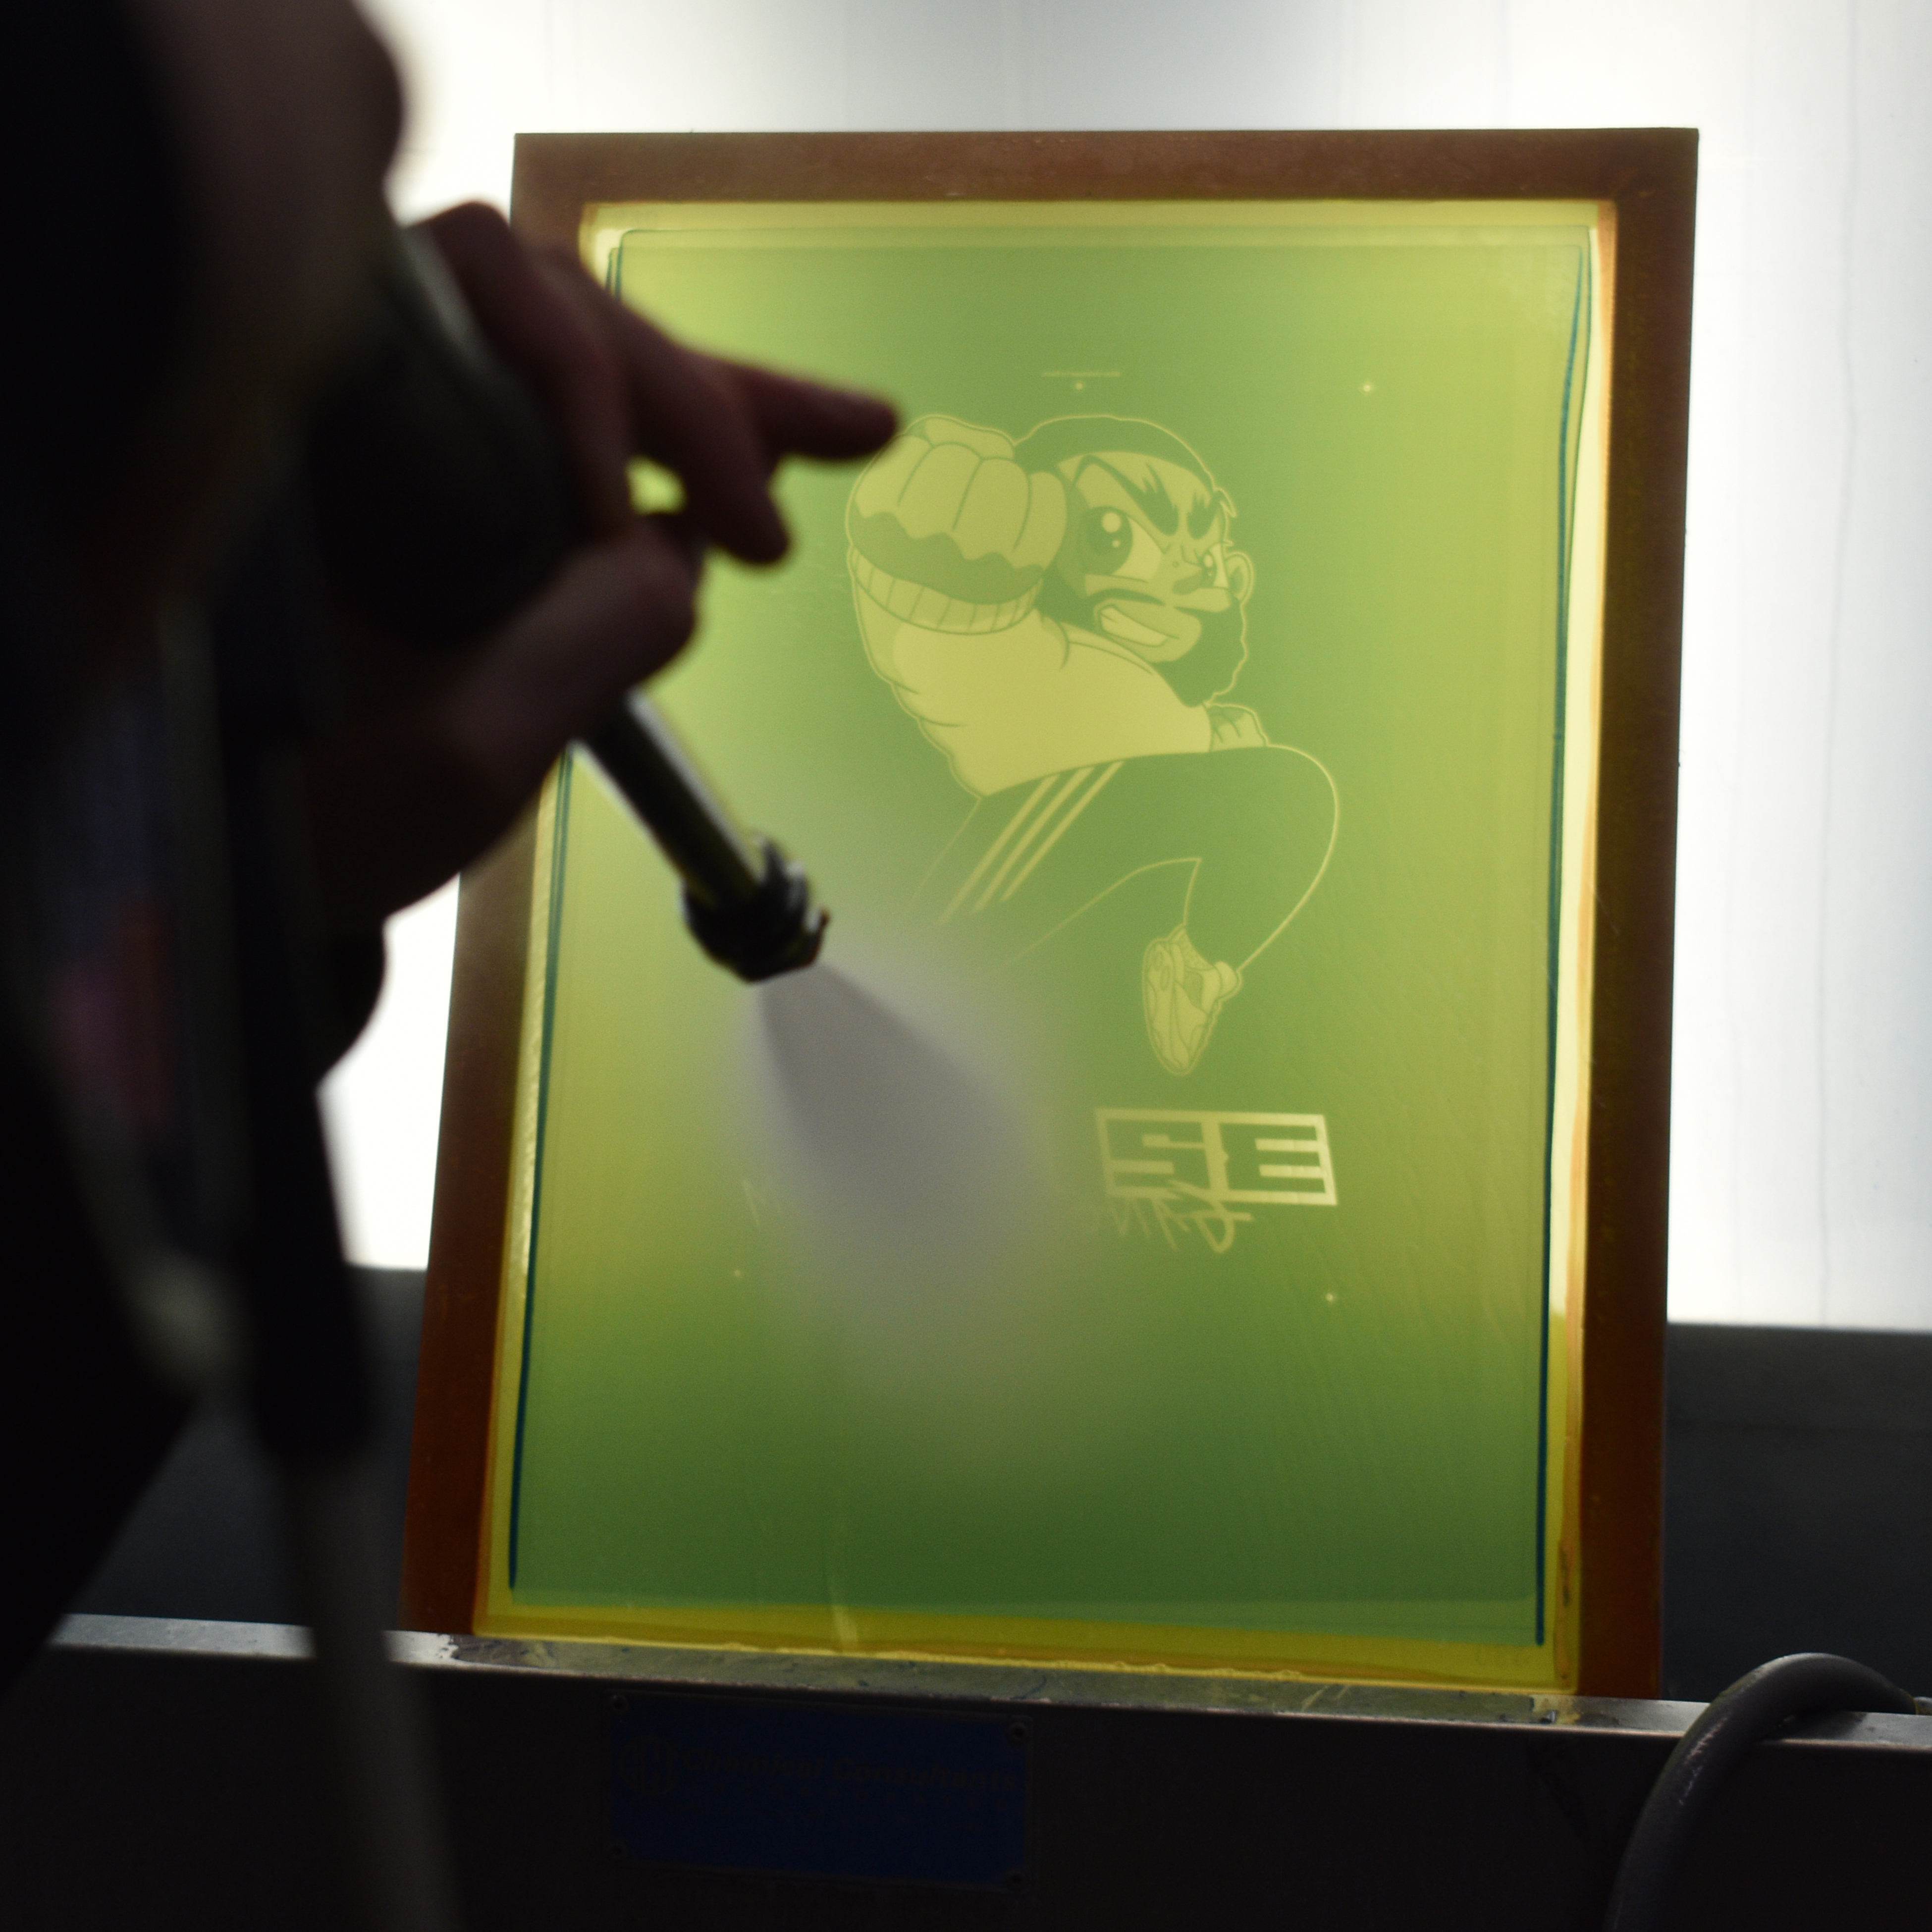
Film Is Printed
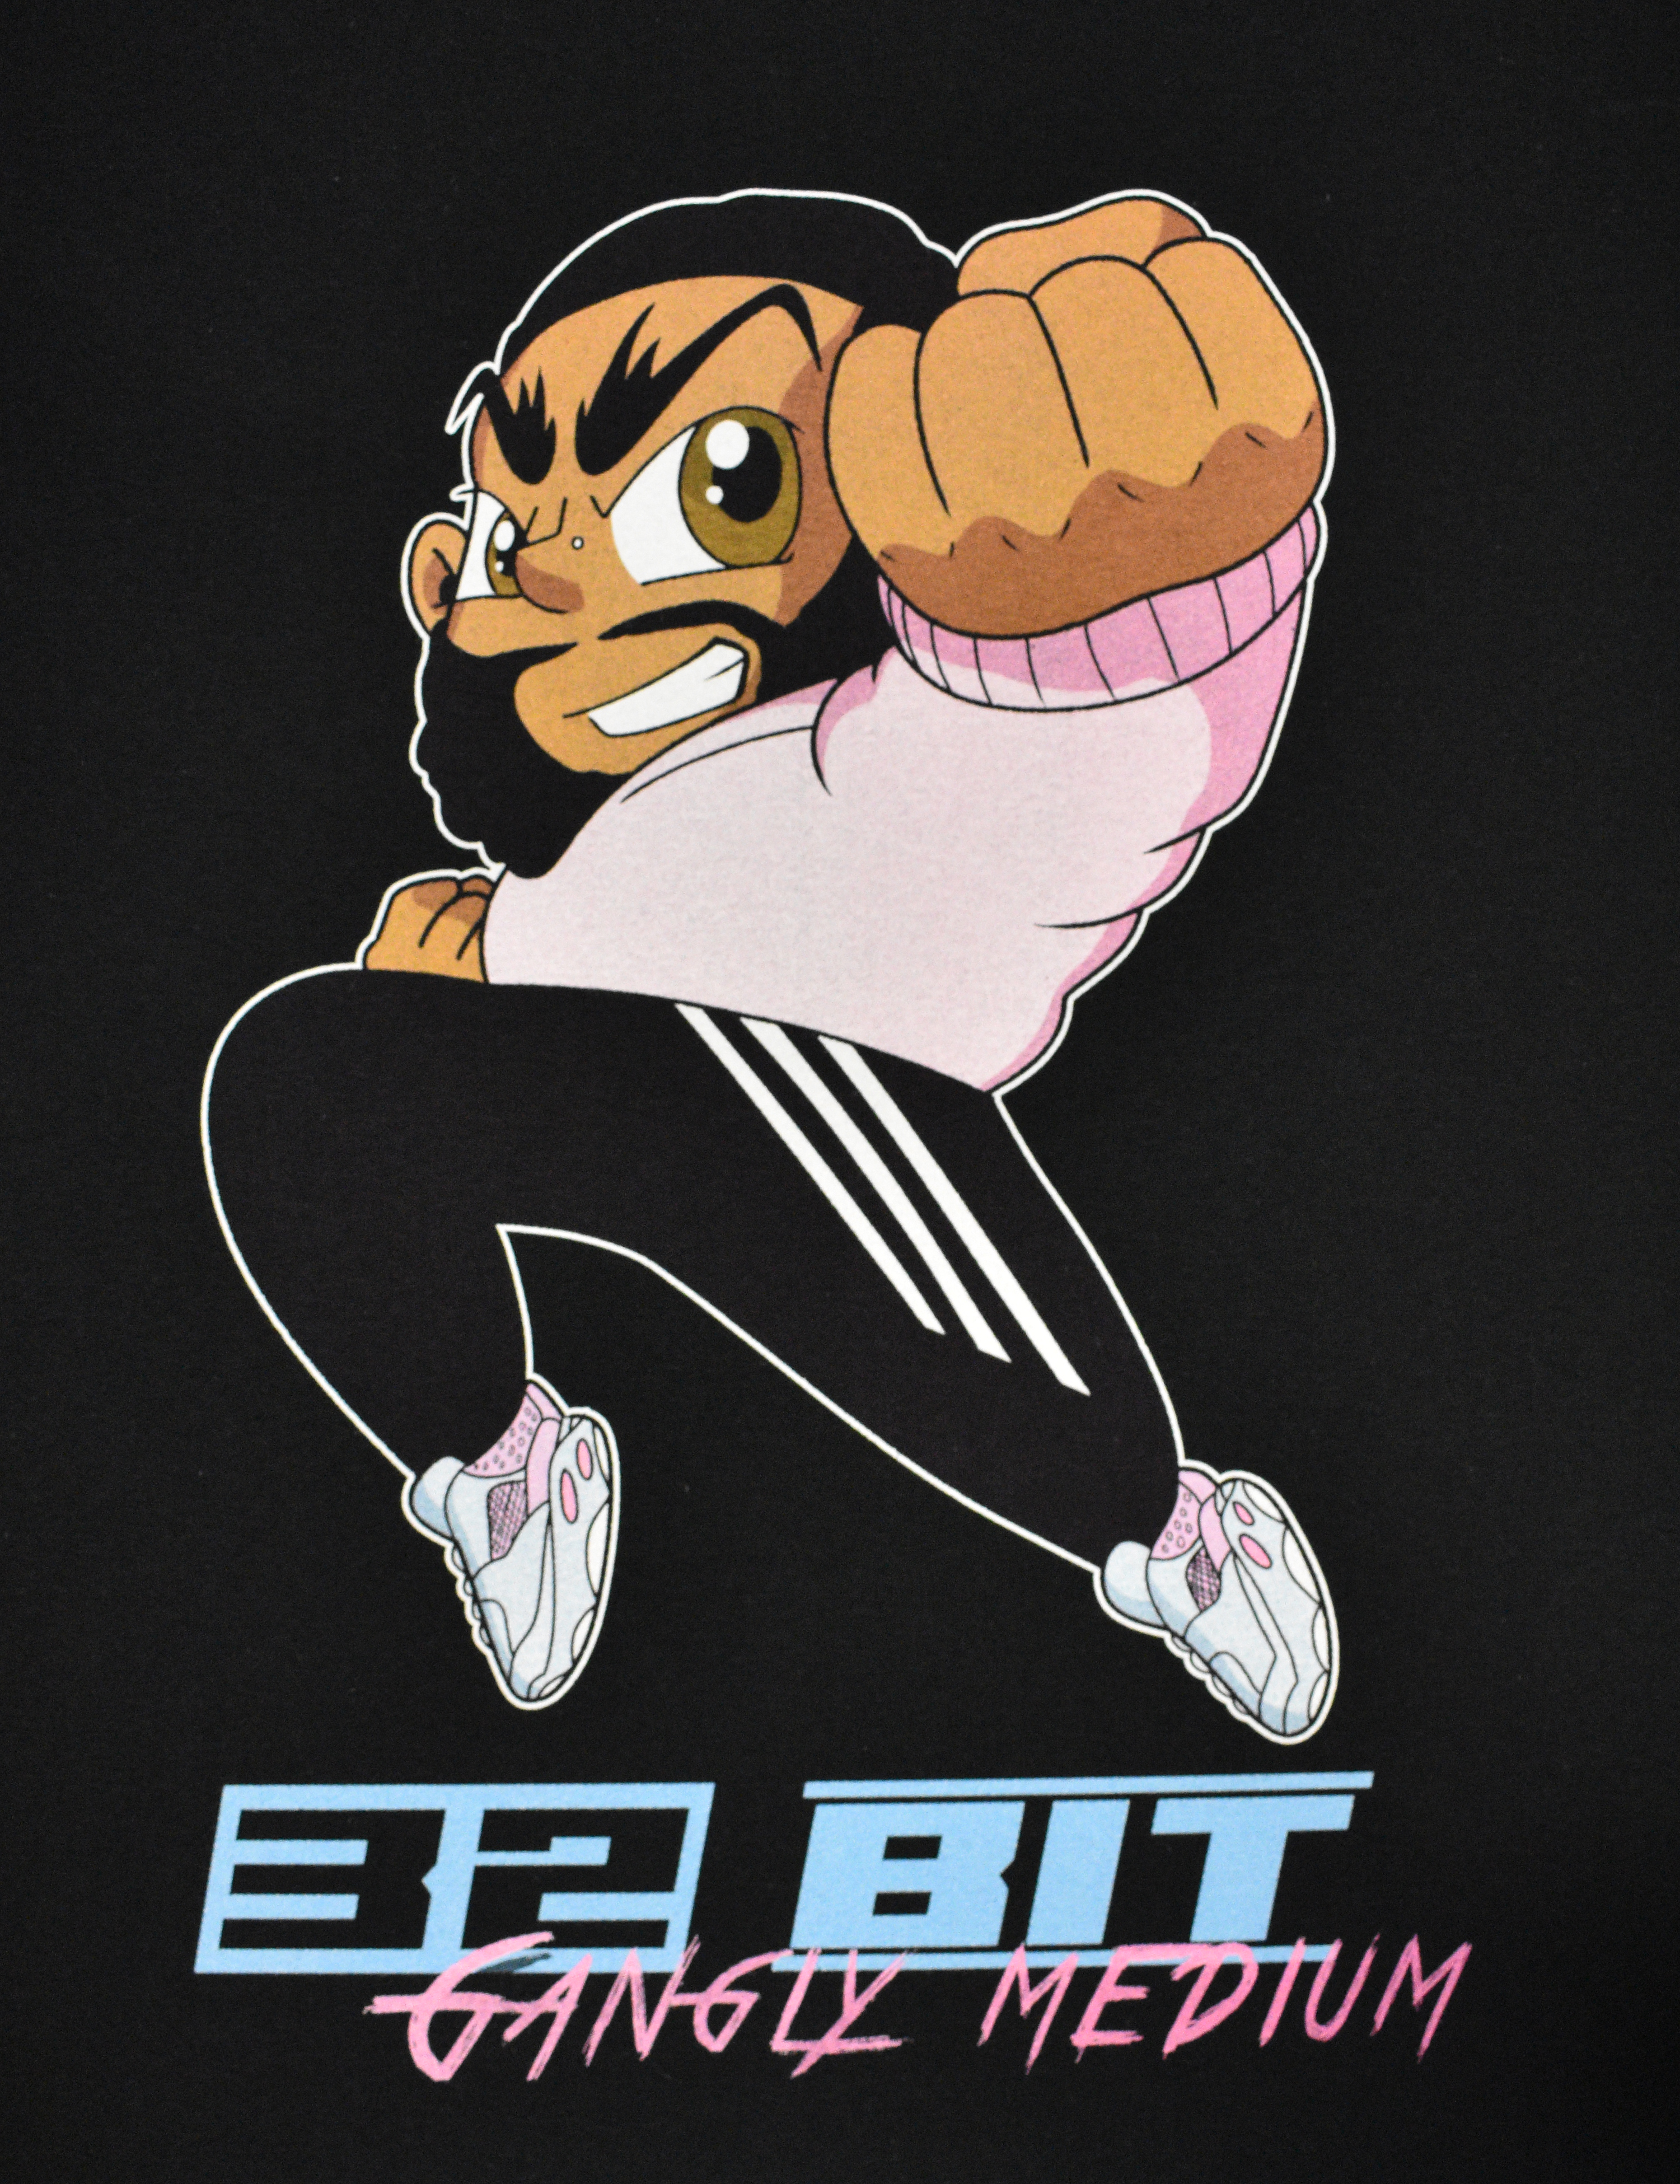
Next, each color that was separated now needs to be printed onto film, so that a screen can be created. The amount of color to be printed on the shirt is determined by the density of halftones in the film. The figure below shows the color separation of the under base from the above example printed onto film. The brighter the color in the design, the more dense the half tones will have to be in the under base. For example, the white areas in the design need to have the highest density of half tones, if not be solid, to allow a thicker under base to be printed so that the white areas turn out their brightest. This step is especially important when printing on a dark garments. Darker colors in the design get a lower density of white going down because letting the garment color show through can help create variation within a color.
Still confused? To help, let’s try and think of it as using a yellow highlighter to write on a black poster board. The highlighter color would get lost and not translate correctly on the black background, therefore you would first need to color a white layer and let that cure before going in with the yellow highlighter.
Screens Are Created
Using a template, the transparencies of each color separation are placed on emulsion coated screens. Screens typically come in a variety of mesh counts. The higher the mesh count, the more detail it can hold. The lower the mesh count, the less detail it will hold, however, the trade off for this is that it will allow for more ink to pass through it. Once the proper mesh is selected for the transparencies a light source hardens the emulsion and creates a negative of the color separation. This step is where the artwork truly begins to come to life.


Inks Are Mixed: Pantone
Each color in your artwork will be matched to a color in the Pantone system. Standard ink is matched to Pantone solid-coated, while water based ink is matched to Pantone uncoated. The purpose of converting colors to Pantone is that if we need to reproduce your design in the future, the reprints will turn out identical. This is done by incorporating a ink mixing system, using pigments from different color families to create a unique Pantone ink to match your projects color pallet. The ink is hand mixed and put under a bulb that replicates daylight, in order to best represent what the color of the ink will look like in everyday wear. Although Pantone offers hundreds of color options, they may not have ones identical for the artwork you provided. Therefore, when designing an image for screen printing we highly recommend using Pantones, so you know exactly what to expect. If you need to reference a Pantone guide, you can find one on our reference page here : Adobe Pantone Guide.

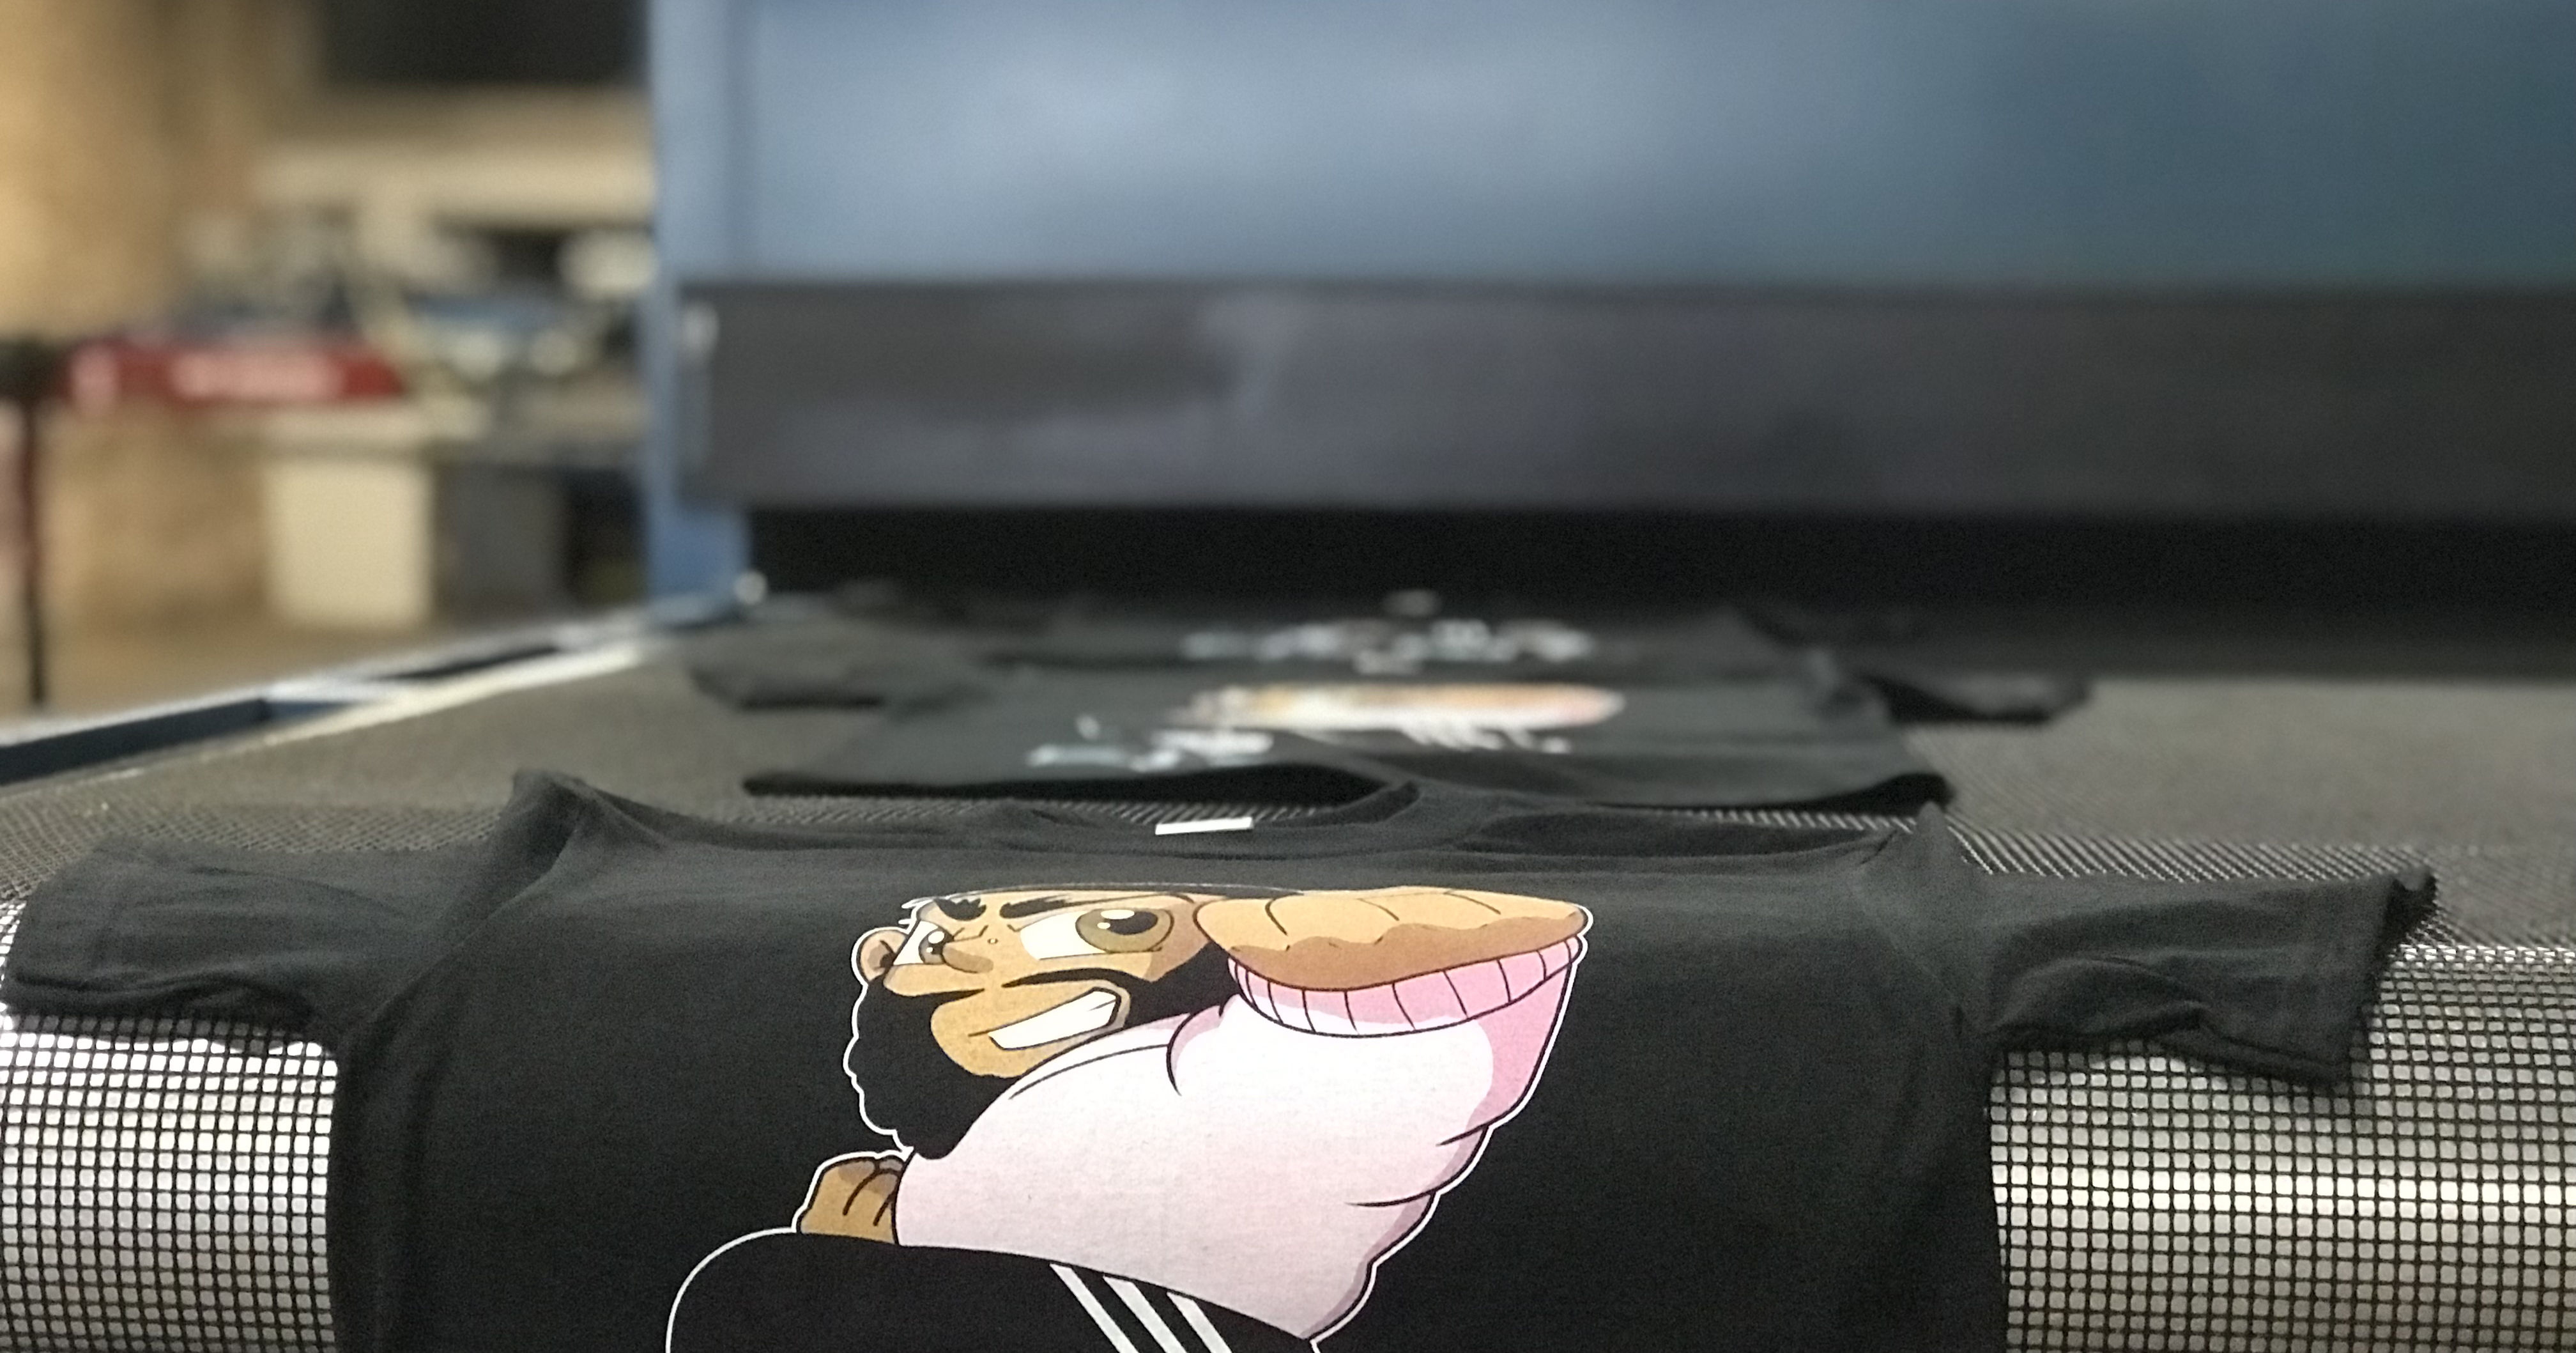
Printing Begins
Individually each screen is set and locked into place. Next, the ink gets spread evenly throughout the screen, sharp squeegees get placed at various angles, and print speeds are meticulously tuned to each specific color. The print sequence is determined based on how the graphic designer separated and blended the colors during the separation process. After ensuring the colors are lined up properly, the job is ready to print!

Prints are Cured
A dryer is used to cure the ink to the garment. The fiber content of the garment will directly affect how the curing process needs to be assessed. Various temperatures and belt speeds are used for different fiber contents so the ink will be cured properly without damaging the garment.
Print Ready Set Go!
We hope this has given you a basic understanding of how the screen printing process works. This article is meant to be a brief overview, if you would like to gain a more in depth understanding of the process follow us to find out when new articles are posted.

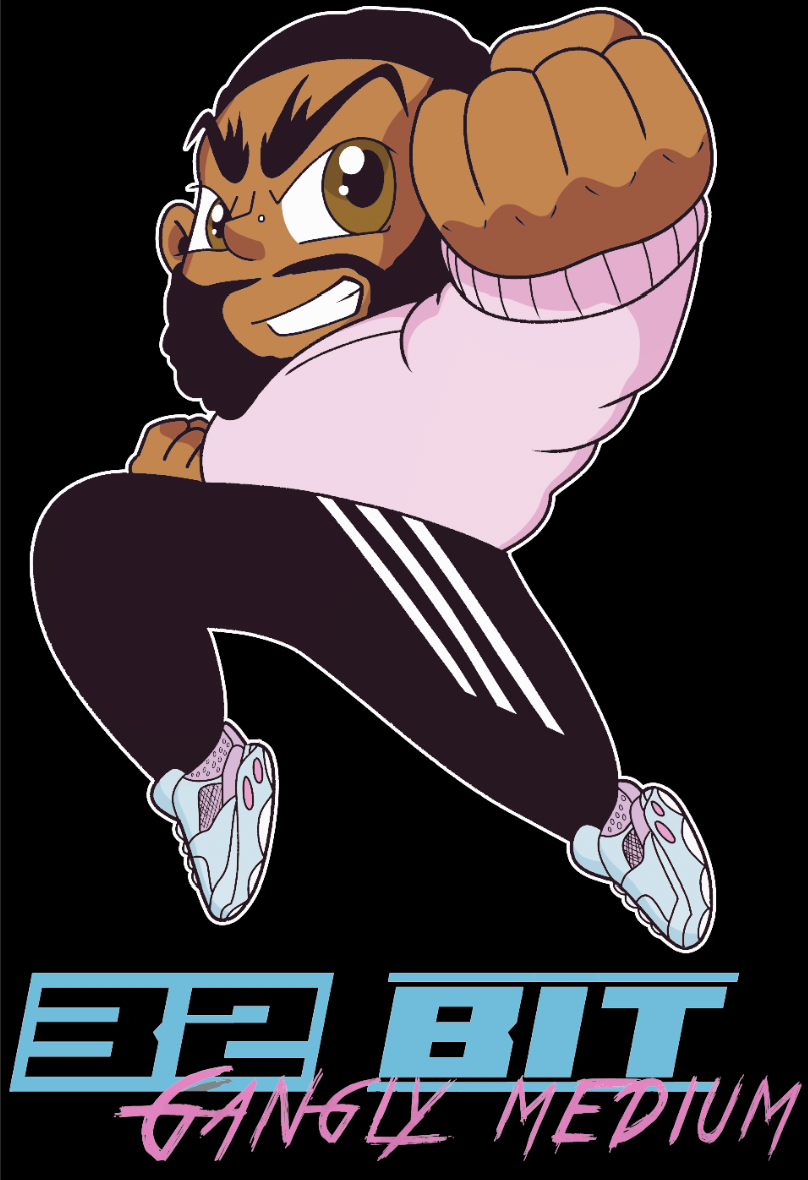
You Can Purchase The Shirt Used In This Article Here>
If you have a project you would like to get start feel free to click the quote button down below!

If you found this article informative we encourage you to please take a moment to Share It.